Rhode Island Seed Starting Calendar: When to Begin Your Spring Flats
Starting seeds too early can leave you with crowded, leggy plants before the garden is ready; starting too late can delay the harvest. Rhode Island gardeners also have to account for differences between their yard and a statewide average. A useful calendar connects each crop’s needs to your likely transplant window, your indoor setup, and the conditions outside.
How to use a Rhode Island seed starting calendar
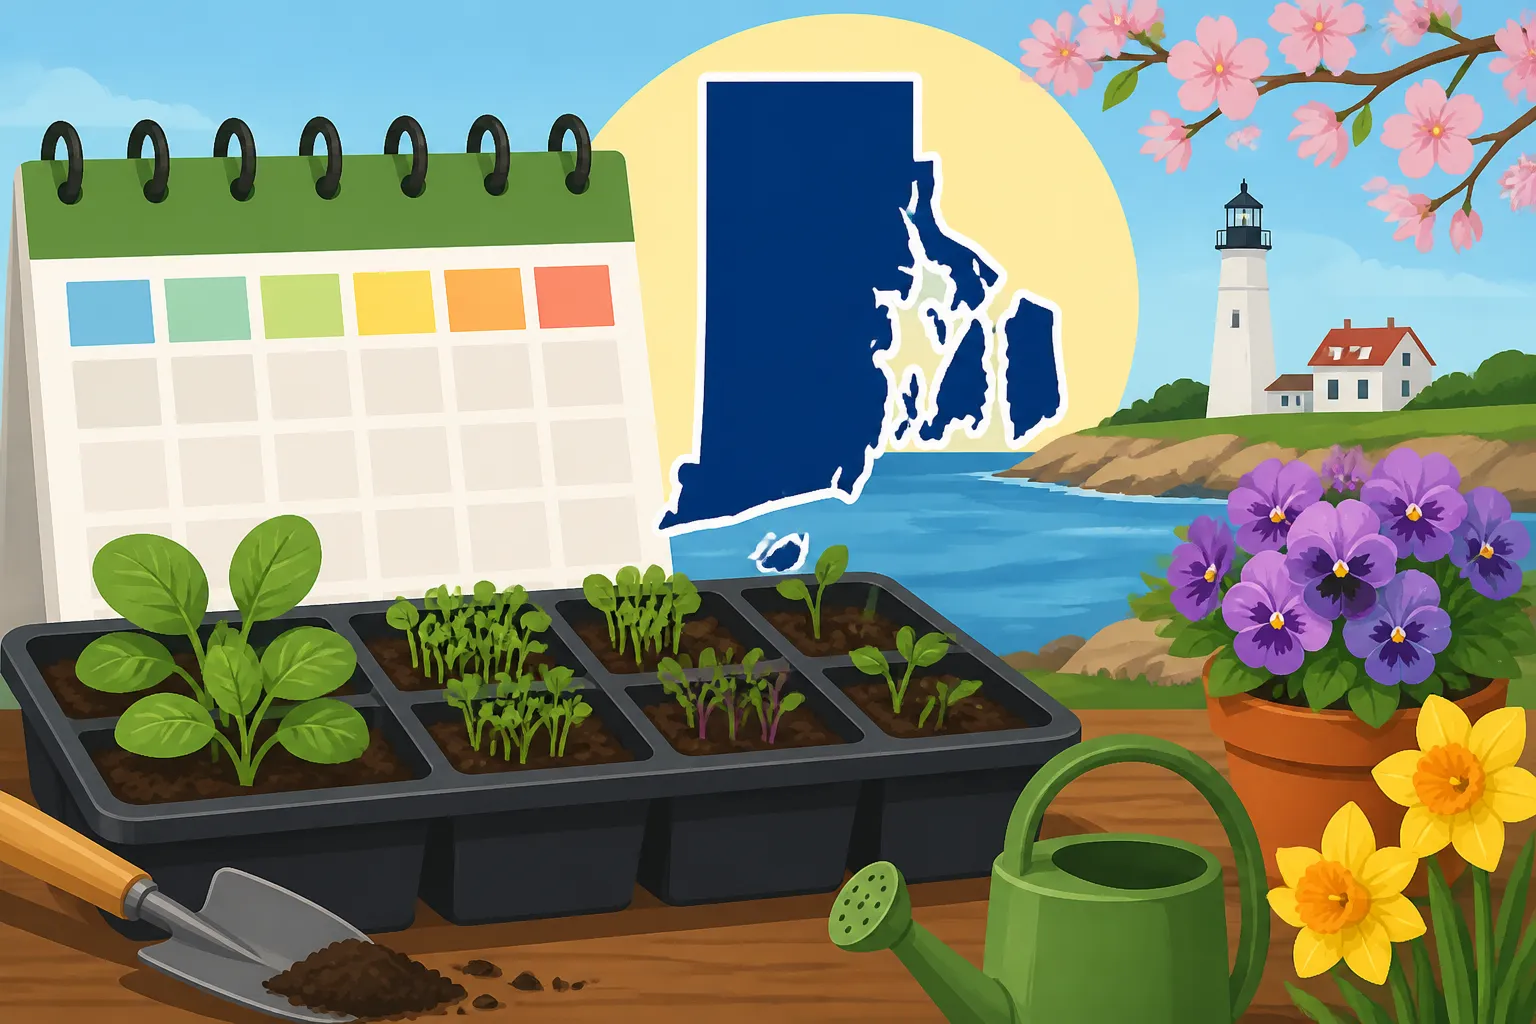
The University of Rhode Island Cooperative Extension says the RI Planting Calendar provides guidance on the best times to start seeds indoors and when it’s safe to plant directly in the ground. Treat that as a planning framework rather than a promise that every garden will be ready on the same day. A calendar can help you organize your work, but it cannot see the conditions in your beds, your home, or your neighborhood.
A seed-starting schedule is easier to use when you think backward from the moment a plant is likely to move outdoors. Begin with the crop’s preferred conditions. Ask whether it tolerates cool weather, whether it needs a long indoor start, and whether it is usually transplanted or sown directly. Then consider how long you can provide strong light and suitable growing conditions indoors.
The calendar should answer a practical question: when should you sow a particular crop so it reaches a useful transplant size near the time your garden can support it? That is different from asking when to plant everything. Some vegetables are good candidates for indoor sowing, while others are better started in the garden. Some can be handled either way, depending on your space and preferences.
For each crop, note the intended growing method, the estimated outdoor planting window, and the seed packet’s guidance. If the calendar lists a window that seems early for your yard, compare it with your local conditions instead of treating the calendar as a deadline. If the outdoor conditions are not ready, an indoor seedling that is already mature may have to wait in its container, where it can become stressed or outgrow its space.
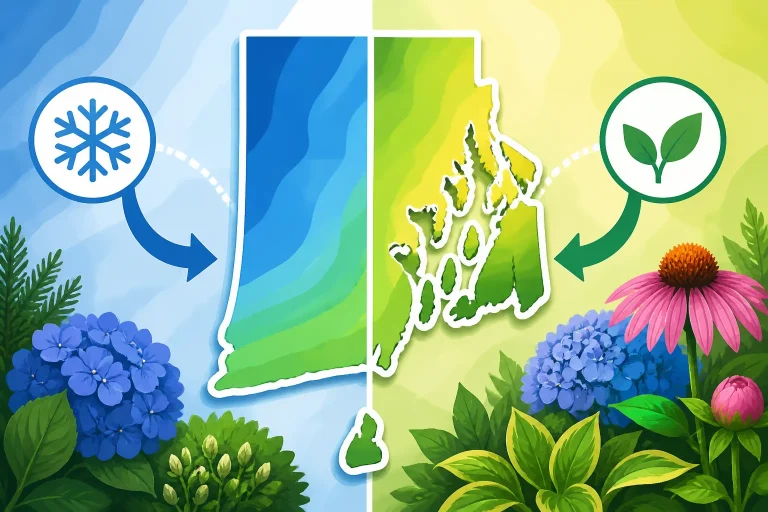
A good calendar also leaves room for uncertainty. Spring weather shifts from year to year, and Rhode Island gardens do not all warm or dry at the same pace. A sheltered urban bed, a windy coastal yard, and an inland garden with cold pockets can have different planting conditions even when their owners consult the same schedule. For more on that distinction, see Why Hardiness Zones Do Not Predict Rhode Island Spring Frost Dates.
Use the calendar alongside the seed packet, not instead of it. The packet may describe whether a crop is best sown indoors or directly outdoors, how deep to sow, and what conditions support germination. Those instructions help you work out what to do; the calendar helps you plan when to do it. If you are comparing crops or arranging a broader garden schedule, Rhode Island Vegetable Sowing and Transplant Timing Guide can help connect indoor starts with direct sowing and transplanting.
Work backward from the intended planting window
The most useful way to plan seed starting is to start with the outdoor destination. Decide where a crop will grow, what conditions it needs, and whether the bed is likely to be ready when the seedlings reach transplant size. Then work backward to sowing.
First, sort crops by how they are usually planted. Some are commonly started indoors and later transplanted. Others are commonly sown in place because they grow quickly, dislike root disturbance, or do not benefit much from an indoor start. A third group can be started either way. The seed packet and the crop-specific calendar help you decide which method fits your situation.
Next, read the seed packet for the recommended indoor sowing guidance and expected time to transplant readiness. Packets vary in how they present this information, so look for the instruction that applies to your plan. Do not confuse the expected time to germinate with the time a plant needs to become ready for the garden. Germination is only the beginning of seedling growth.
Then consider your indoor setup. A bright windowsill may suit a small number of starts, but it can be difficult to provide consistent light as seedlings grow. A dedicated light and a stable place to keep trays can make it easier to manage a larger planting. The right sowing time depends partly on whether your setup can keep plants compact and healthy while they wait. For a closer look at the equipment and growing conditions, see Starting Seedlings Indoors: Lighting, Warmth, and Rhode Island Timing.
Last, compare the planned transplant window with your yard. The calendar gives a broad reference; your planting decision should also account for soil condition, recent weather, exposure, and the crop’s tolerance of cool conditions. A bed that is still waterlogged or cold may not be a good destination simply because a calendar suggests that planting season has begun.
A simple planning table can keep these factors together. Fill in the specific sowing and planting information from the Rhode Island calendar and your seed packets rather than assuming that every crop follows the same schedule.
| Crop group | Usual starting approach | What to check before sowing | What to check before planting outdoors |
|---|---|---|---|
| Crops commonly transplanted | Start indoors when the calendar and packet support it | Indoor sowing guidance, germination needs, and expected transplant readiness | Weather, soil condition, and whether the seedling is sturdy enough |
| Crops commonly sown in place | Sow directly when outdoor conditions suit the crop | Whether indoor sowing offers a real advantage | Soil warmth and moisture, bed preparation, and the crop’s tolerance of cool conditions |
| Crops that can be started either way | Choose the method that fits your space and timing | Packet instructions, available light, and the time you can maintain seedlings | Whether direct sowing or transplanting is more practical for your garden |
| Crops intended for repeated sowings | Plan a succession rather than starting every seed at once | Germination conditions and how much you can care for at one time | Available bed space and whether the season still suits the crop |
The table is a planning aid, not a substitute for crop-specific instructions. If the packet gives a different method from the one you expected, check that the seed is being used for the purpose you have in mind. A crop sold for sprouts or microgreens, for example, may have different instructions from a packet intended for garden production.
It also helps to separate three dates in your notes: indoor sowing, expected transplant readiness, and actual planting outdoors. The actual outdoor date may change as the season develops. Keeping those entries separate prevents a common mistake: treating a seed-starting date as if it were a guaranteed transplant date.
Choose crops by how they respond to indoor starting
Not every vegetable benefits from being started indoors. Indoor sowing can give a slow-growing crop a head start, but it also creates work: seedlings need suitable light, careful watering, enough space, and a gradual transition to outdoor conditions. A direct-sown crop avoids that indoor care and starts growing where it will mature.
Use the calendar and packet to divide your seed collection into practical groups.
Crops that are good candidates for indoor sowing
Indoor sowing can be useful when a crop needs time to grow before it is ready for the garden, or when you want to transplant a young plant rather than wait for it to develop from seed outdoors. The method can also help gardeners make use of a short or changeable spring planting window.
Before starting these crops, make sure you can provide conditions that support steady growth. A seedling that germinates well but then sits in dim light may become thin and weak. If the indoor location is crowded, too warm, or difficult to monitor, sowing fewer seeds may be more successful than filling every available cell.
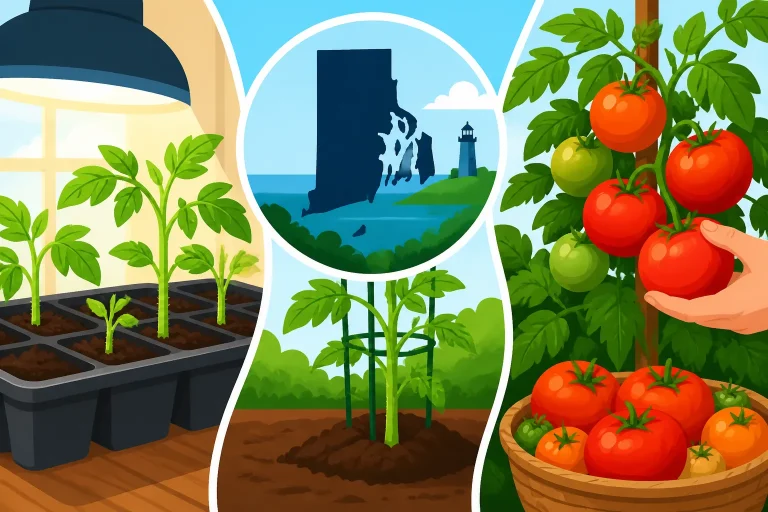
Check the packet for whether the crop tolerates transplanting and whether the seed is intended to be started indoors. The sowing method should suit both the crop and your setup. If you are starting tomatoes, use the crop-specific schedule in Rhode Island Tomato Planting Calendar: Starting Indoors to Harvest and plan for the later transition outside rather than assuming that an indoor start means the plant can go outdoors immediately.
Crops that are often better sown outdoors
Some crops are straightforward to sow in their permanent growing place. For those, indoor sowing can add a step without offering a meaningful benefit. It may also create transplanting work or risk disturbing roots.
Direct sowing is not the same as sowing whenever it is convenient. The seed still needs suitable soil conditions. If the soil is too cold, too wet, or poorly prepared for the crop, emergence may be slow or uneven. Check the packet and the calendar for the crop’s outdoor sowing guidance, and pay attention to conditions in the bed.
A direct-sown crop can be easier to manage if you have a prepared bed and can keep the seed zone from drying out. If your garden space is limited or not ready, however, an indoor start may be worth considering for crops that tolerate transplanting. Starting Seeds Indoors vs Garden Sowing on Rhode Island Dates offers a way to think through that choice.
Crops that can go either way
Some crops can be started indoors or outdoors, leaving room for personal preference. Your choice may depend on how much indoor space you have, whether you want to protect young plants from early outdoor conditions, and how easily the crop handles transplanting.
Consider the work after sowing, not just the convenience of getting seeds started. Indoor sowing requires attention to moisture and light, followed by hardening off and transplanting. Direct sowing requires a prepared bed and suitable outdoor conditions, but skips the indoor stage. Choose the method that you can carry through successfully.
Succession sowing is another option for crops that produce over a period of time. Rather than starting all the seeds at once, you can plan repeated sowings according to the crop’s instructions and the remaining growing season. This can spread out harvests, but it makes sense only if you have room to care for the plants and if the timing still suits the crop.
Do not start a crop indoors just because the calendar has an indoor sowing recommendation. The calendar is a guide to timing; the packet and your growing conditions help determine whether indoor starting is worthwhile for you.
Make an indoor setup that supports sturdy seedlings
Sowing at the right time is only part of successful seed starting. Seeds need suitable conditions to germinate, and seedlings need enough light, air, moisture, and room to develop after they emerge. A calendar cannot compensate for a growing setup that leaves young plants weak.
Set up before you sow
Gather the supplies you need before planting. This might include clean containers with drainage, seed-starting mix, labels, a tray for moving containers, and the light source or suitable growing location you plan to use. Having these ready makes it easier to sow carefully and keep track of what is growing.
Use labels as soon as you sow. A tray can look uniform after seedlings emerge, and it is easy to lose track of crop names or sowing dates if the information is written down later. Record the crop, variety if relevant, and the date you sowed. You can also note the packet’s expected germination and transplant guidance so that you can compare your seedlings with the instructions.
Choose containers that allow excess water to drain. Seeds need moisture, but water that stays around the roots can create problems. If a container does not drain, it is harder to control the growing medium’s moisture and easier to leave seeds sitting in water.
Match light and warmth to the seed
Different seeds may have different germination preferences. Follow the packet’s instructions instead of assuming that every seed should be treated alike. Once seedlings emerge, watch how they grow. Healthy seedlings are generally more compact and sturdy than plants that stretch toward a distant light source.
If a seedling is leaning or becoming thin, look at the light before assuming it needs more water or fertilizer. Moving it closer to an appropriate light source or adjusting the setup may help, depending on the equipment and the plant. Avoid making a rapid change that exposes tender plants to conditions they cannot handle.
Warmth also matters, but more warmth is not always better for growing seedlings. A location that is comfortable for germination may be less suitable once plants emerge. Read the packet, observe growth, and adjust the setup as the seedlings develop. For further help diagnosing stretched growth, see Leggy Seedlings: What Indoors Tells Rhode Island Gardeners.
Water carefully and allow airflow
Keep the growing medium evenly moist according to the seed packet and the needs of the seedlings. Do not use a fixed watering routine without checking the containers. The surface can dry while the lower part remains wet, or the medium can dry faster in a warm, bright location.
Check containers regularly and water in a way that moistens the root area without leaving plants standing in water. Small seedlings can be damaged by a strong stream, so use a gentle method. Make sure excess water can drain away.
Airflow helps prevent a stagnant, crowded growing environment. Do not pack trays so tightly that leaves remain crowded as plants grow. If seedlings begin competing for light or touching one another, they may need more room. Thinning or transplanting into larger containers can help, provided that the crop tolerates the handling and the plants are ready.
Start only what you can maintain
It is tempting to sow every packet at once, especially when the growing season feels short. But each tray adds watering, labeling, lighting, and transplanting work. Excess seedlings can crowd a small growing space or become difficult to manage while you wait for outdoor conditions.
Choose a realistic amount based on the garden space you have and the time you can give to the plants. If you have extra seed, you do not have to sow it all at once. Follow the packet’s storage guidance for unused seed, and plan another sowing only if the crop and season allow it.
A packet from Botanical Interests is one example of a seed packet to read carefully; use the specific crop instructions on the packet rather than assuming that every seed has the same needs. The brand name does not replace the crop-specific timing, growing directions, or local judgment needed to plan your garden.
Prepare seedlings for the move outdoors
A seedling raised indoors has not experienced the same sun, wind, temperature shifts, and drying conditions as a plant growing outside. Moving it directly from a protected indoor spot to the garden can be a difficult change. Plan for a transition rather than treating transplanting as a single calendar event.
Hardening off is the gradual process of helping indoor-grown seedlings adjust to outdoor conditions. The details depend on the weather, the crop, and the place where the seedlings will grow. Use the crop’s instructions and watch the plants as you introduce them to outdoor exposure. Avoid leaving tender seedlings in conditions that are too harsh for them.
The location matters. A sheltered space can differ from an exposed bed, and outdoor conditions may change during the transition. Bring plants back under protection when conditions are unsuitable, and avoid assuming that a calm moment outdoors means the garden will remain equally gentle.
Before transplanting, check whether the bed is ready. Soil should be workable for the crop, and the planting site should suit its light and drainage needs. A seedling that is ready in its container may still need to wait if the garden bed is saturated, unprepared, or exposed to unsuitable conditions. Conversely, if seedlings are ready and the outdoor conditions are supportive, holding them too long indoors can make them harder to manage.
Handle seedlings gently and follow crop-specific planting instructions. Keep roots from drying out during the move, and avoid crushing stems as you place plants in the bed. After planting, observe them for signs of stress and respond to conditions rather than following a rigid routine.
For crop-specific guidance, When Is It Safe to Move Tender Seedlings Outdoors in Rhode Island? addresses the transition from indoor growing to outdoor planting. If tomatoes are part of your plan, Hardening Off and Transplanting Rhode Island Tomato Seedlings covers that process for tomato plants.
Adjust your plan to the garden you actually have
Rhode Island’s statewide calendar cannot account for every exposure, soil, and growing setup. Your yard may warm slowly, dry quickly, or be protected from wind. Even nearby gardens can experience different conditions. Use the calendar to make a sound starting plan, then adjust based on what you observe.
Consider exposure and shelter
Look at where the garden is in relation to buildings, fences, trees, and open space. A sheltered site may avoid some wind, while an exposed site can dry out or stress young plants more quickly. Shade from nearby structures can also affect how quickly a planting area warms and how much light seedlings receive.
Coastal and inland conditions can differ, but the exact difference depends on the location and the weather pattern. Do not assume that living near the coast automatically makes every bed warmer or that every inland bed is delayed. Observe your own garden, especially if you have not grown there before. Adjusting Rhode Island Planting Dates to Your Microclimate can help you think through local conditions.
Check the bed, not just the air
A pleasant afternoon does not necessarily mean the soil is ready for sowing or transplanting. Check whether the bed is workable and whether the soil is too wet to prepare without compaction. Consider the crop’s needs and the seed packet’s recommendations. For direct-sown seeds, the condition of the seedbed can influence how evenly seeds emerge.
If you are preparing a new bed, make sure it is ready before your planned sowing date. Removing weeds, loosening soil where appropriate, and arranging the growing space can prevent a last-minute scramble. For seeds sown in rows or clusters, decide where each crop will go before you start planting. That makes it easier to leave room for the seedlings to grow and to label them accurately.
Use the calendar as a flexible schedule
Keep a garden record with the dates you sow indoors, the dates seedlings emerge, and the dates you transplant or sow outdoors. Add brief notes about the weather, the bed condition, and seedling growth. Those observations are more useful than trying to remember whether a particular spring felt early or late.
If a planned date passes and conditions are not suitable, delay the outdoor work rather than treating the calendar as a command. If seedlings are growing faster than expected, consider whether they need more light, more space, or a different plan. If a crop fails to germinate, check the seed packet’s conditions and whether your setup met them before sowing again.
A flexible schedule is not an excuse to ignore the calendar. It is a way to use the calendar intelligently: consult the recommended window, compare it with the crop’s needs, and make a decision that fits the garden you have.
Common seed-starting problems and practical fixes
A calendar can reduce guesswork, but it cannot prevent every setback. When a tray does not develop as expected, diagnose the specific issue before changing several parts of the setup.
Seeds do not emerge
Check the packet for sowing depth, moisture, and germination conditions. Seeds may be too deep, too dry, too wet, or kept in conditions that do not suit them. If a label was lost, you may also have forgotten what was planted and how it should be treated.
Avoid disturbing a container repeatedly to check whether a seed has germinated. Instead, compare its progress with the packet’s guidance and look for signs of a problem in the medium. If you decide to sow again, label the new planting and adjust only the conditions that seem likely to be causing the failure.
Seedlings emerge but grow weakly
Thin, leaning seedlings often need better light or more space. Review the distance and quality of the light source and check whether the plants are crowded. A windowsill may not offer consistent light throughout the day, particularly as seedlings grow or turn toward the window.
Do not compensate automatically by adding fertilizer. A weak seedling may be responding to light, crowding, moisture, or temperature rather than a lack of nutrients. Follow the growing directions and change the conditions most clearly linked to the symptom.
Seedlings outgrow their containers
A plant that has been kept indoors too long may become crowded, root-bound, or difficult to handle. The solution depends on the crop and whether the outdoor site is ready. If the crop tolerates moving into a larger container, that may give it room to continue growing. If it does not, take care not to disrupt its roots unnecessarily.
Use this experience to adjust next season’s schedule. If seedlings repeatedly become too large before planting conditions are suitable, sow later, start fewer plants, or improve the indoor conditions that are driving rapid growth. The goal is not the largest seedling; it is a healthy plant ready to establish outdoors.
The garden is not ready when seedlings are
This is a planning mismatch, not necessarily a seed-starting failure. Revisit the planting schedule and compare the calendar with your yard’s conditions. In future, you may need to sow later, choose a different crop, or make a plan for holding seedlings safely until the bed is suitable.
The same mismatch can happen in the other direction: outdoor conditions may be ready while a crop you planned to transplant is still too small. If the crop can be direct-sown, check whether that method is suitable. Otherwise, record the timing and adjust your next sowing plan.
Too many seedlings emerge
Thin plants according to the crop’s instructions, or transplant them if that method suits the crop. Avoid keeping every seedling simply because it germinated. Crowded plants compete for light, air, water, and space, and they can be harder to manage than a smaller number of healthy starts.
Planning the amount to sow before planting helps prevent this problem. Consider the garden space available, the number of plants you want, and whether you have room to keep extras healthy. A smaller, well-managed tray is often more useful than a large tray that becomes crowded before transplanting.
Frequently Asked Questions
Should I start every vegetable indoors?
No. Use the Rhode Island calendar and the seed packet to decide whether a crop is best started indoors, sown directly, or handled either way. Indoor starting adds care and transplanting work, so it is most useful when the crop benefits from that approach and you can maintain healthy seedlings.
Can I follow one statewide sowing schedule for every Rhode Island garden?
Use the statewide calendar as a starting reference, then adjust for the crop and the conditions in your own yard. Exposure, soil condition, shelter, and weather can affect when a bed is ready.
What if seedlings are ready before the garden is?
Check whether the crop can be moved to a larger container and whether its indoor conditions can be improved while you wait. Do not transplant solely because the seedling has reached a certain size; make sure the garden is suitable too.
Is direct sowing always easier than starting indoors?
Not always. Direct sowing avoids indoor seedling care, but it depends on prepared soil and suitable outdoor conditions. Indoor sowing can be useful for crops that benefit from a head start, but it requires light, watering, space, and a gradual transition outdoors.
Sources
- University of Rhode Island Cooperative Extension — Gardening Resources – Cooperative Extension (checked November 15, 2026)
Disclaimer
This article is for general informational purposes only and does not constitute professional advice. Laws, prices and regulations vary by location and change over time. Consult a qualified professional for guidance on your specific situation. Rhode Island Gardening Guide is not a government agency and is not affiliated with any university extension, state department of agriculture or other government agency.